browse and install community pipes
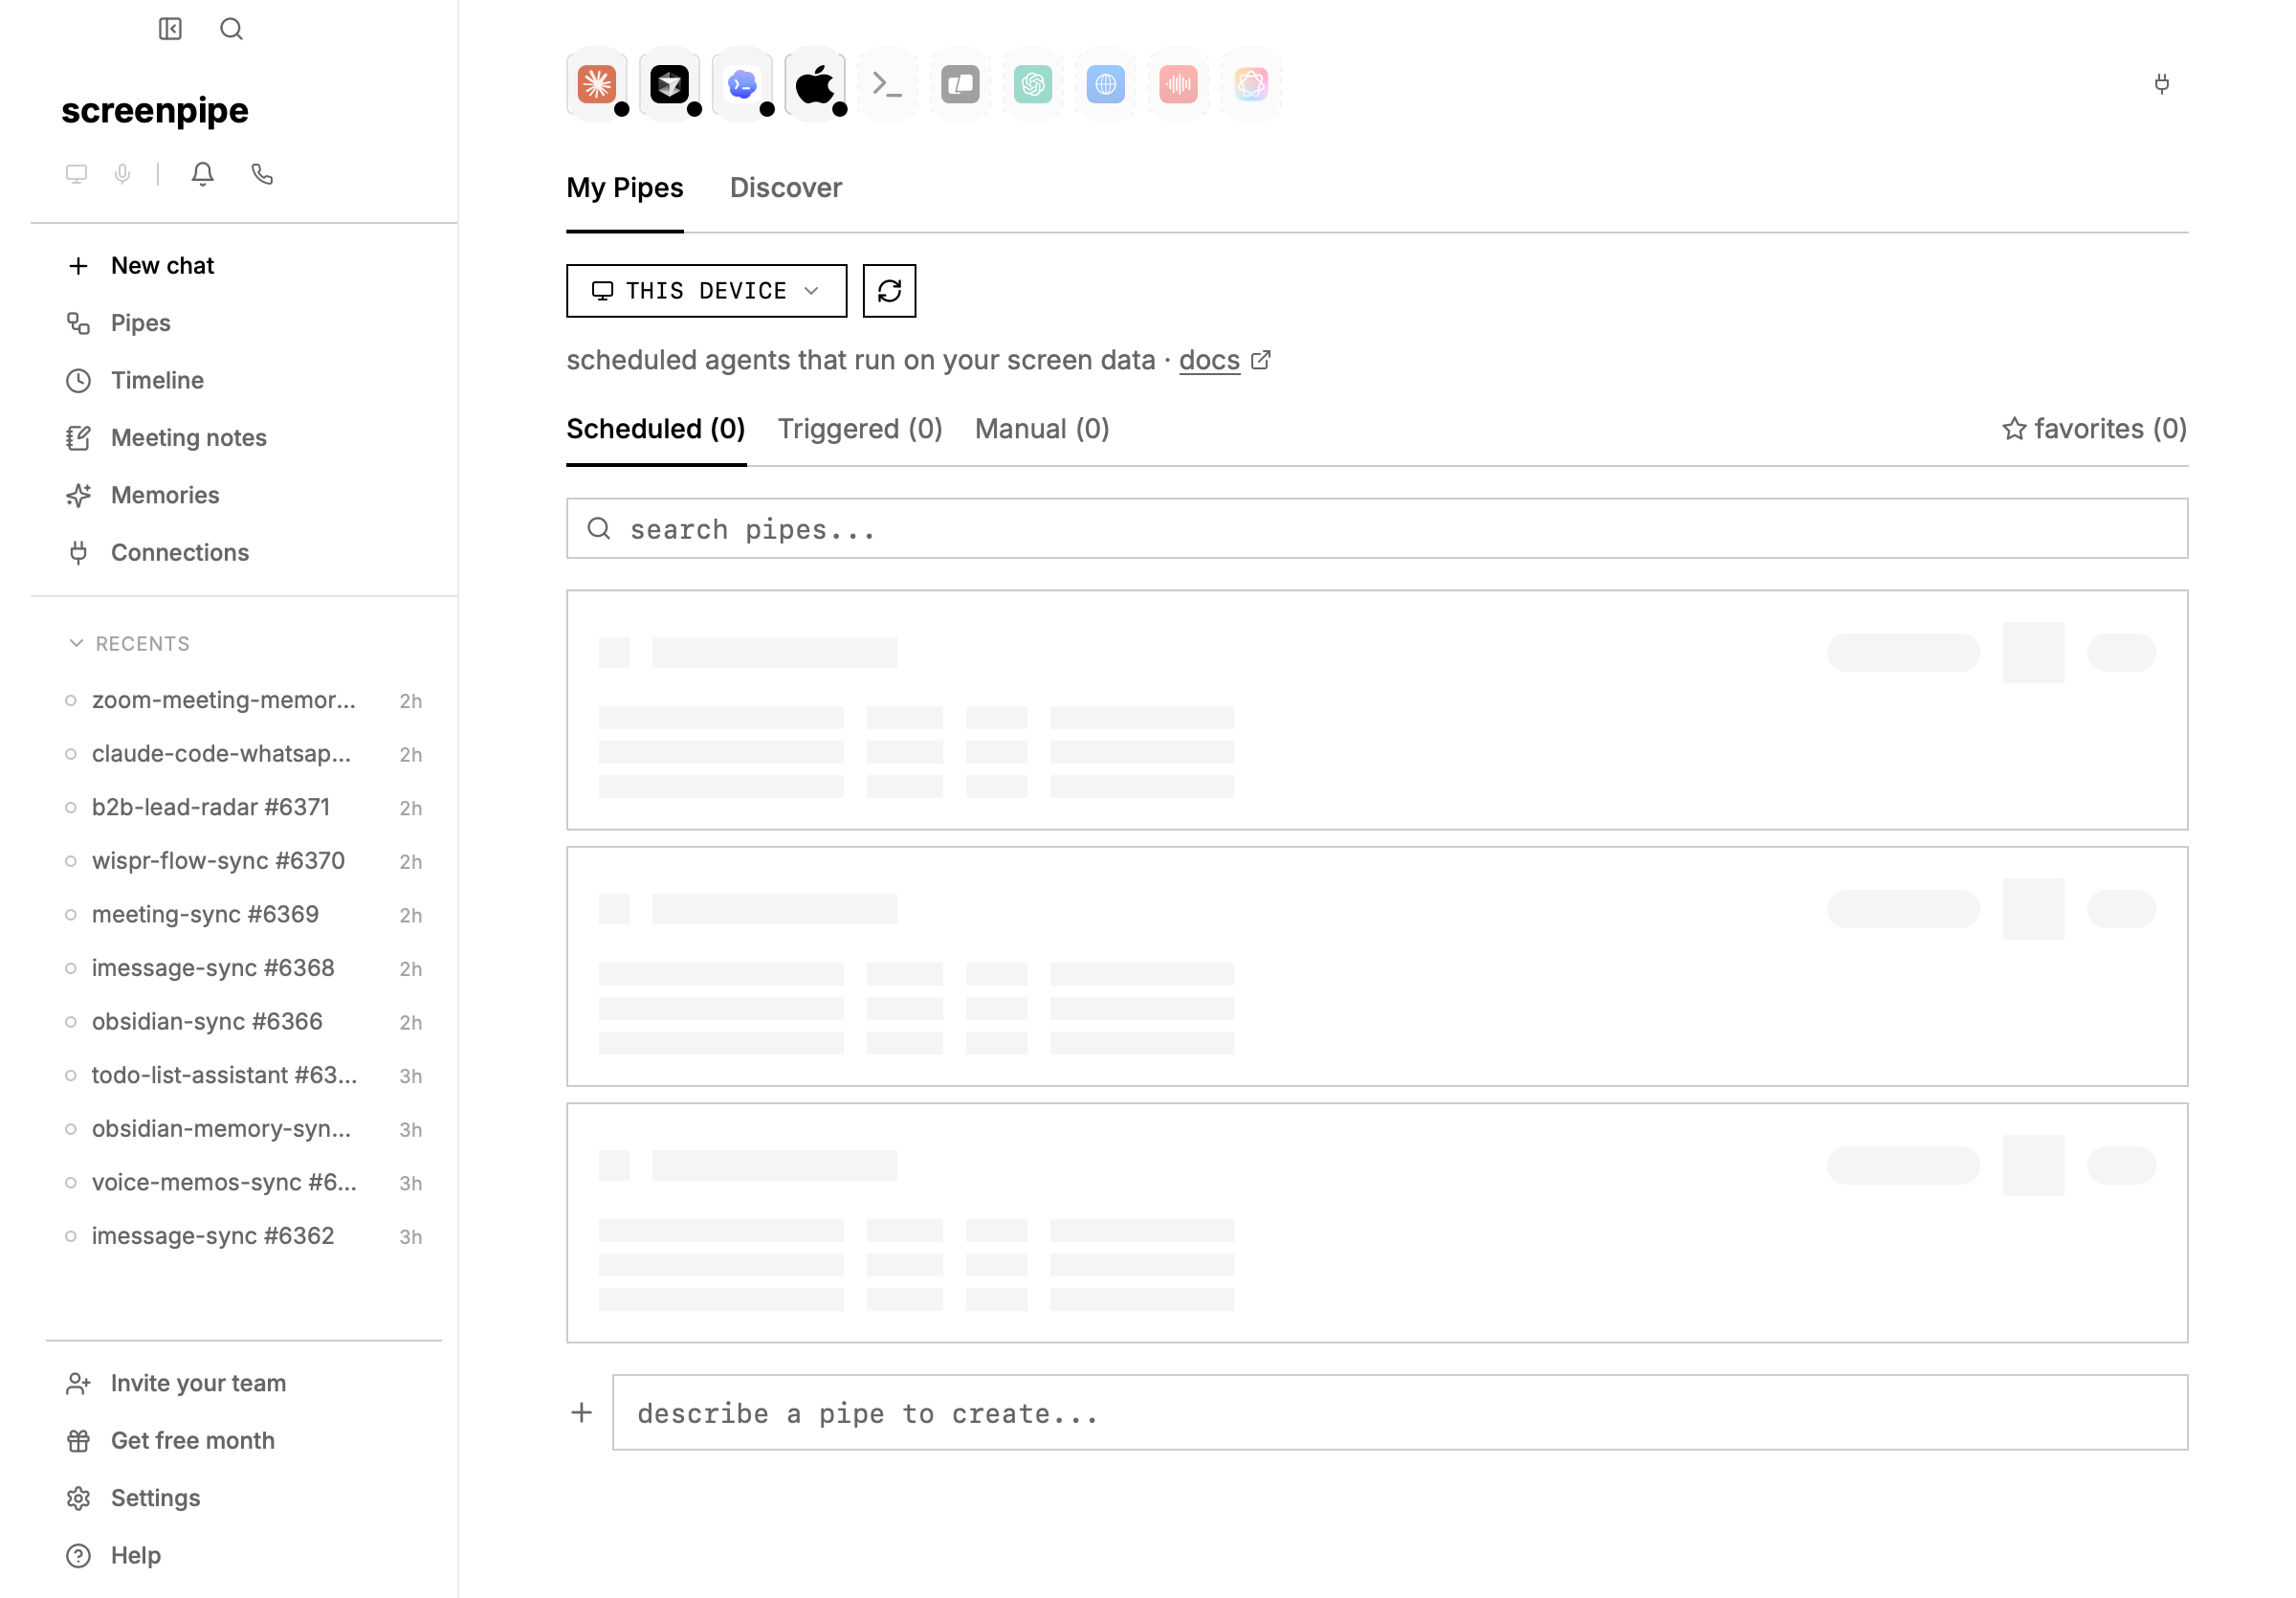
to find and install pipes others have made:- open screenpipe and click Pipes in the sidebar
- click the Discover tab at the top
- browse featured and community pipes, or search for a specific one
- click GET to install any pipe
- go to Settings → Pipes to enable it and configure the schedule
quick start — paste this into claude code
copy this prompt into claude code, cursor, or any AI coding assistant:[DESCRIBE WHAT YOU WANT] with your use case — e.g. “tracks my time in toggl based on what apps I’m using”, “writes daily summaries to obsidian”, “sends me a slack message if I’ve been on twitter for more than 30 minutes”.
what are pipes?
pipes are automated workflows that run on your screenpipe data at regular intervals. each pipe is a markdown file with a prompt and a schedule. under the hood, screenpipe runs a coding agent (like pi) that can query your screen data, call APIs, write files, and take actions.use chat, MCP, or a pipe?
a pipe is just one file:
pipe.md
creating a pipe
create a folder in~/.screenpipe/pipes/ with a pipe.md file:
manage pipes from the CLI
every pipe action is available from the CLI — no separate install.npx -y screenpipe@latest, bunx screenpipe@latest, and bun x screenpipe@latest are equivalent; use whichever the machine has.
pipe.md with a schedule (e.g. 0 9 * * *), install then enable it, and screenpipe runs it on that cron. you can also hand these commands to any AI agent — e.g. “create a screenpipe pipe that summarizes my day at 6pm” — and let it scaffold, install, and enable the pipe for you.
pipe.md format
every pipe.md starts with YAML frontmatter between--- markers, followed by the prompt:
frontmatter fields
context header
before execution, screenpipe prepends a context header to the prompt:schedule formats
example: pipe with longer timeout for slow models
if your pipe uses a slower AI model or runs complex analysis, increase the timeout:timeout field, it would be limited to 5 minutes and likely timeout on slower models.
manage pipes
use the desktop app (settings → pipes) or the REST API:http api
when screenpipe is running, pipes are also manageable via the local API:app ui
go to settings → pipes to see all installed pipes, toggle them on/off, run them manually, edit the pipe.md directly, select an AI preset, and view logs.examples
time tracking (toggl)
daily journal (obsidian)
standup report
AI presets
in the screenpipe app, go to settings → AI settings to configure presets (model + provider combinations). in settings → pipes, you can assign a preset to each pipe — this overrides the model/provider in the frontmatter. screenpipe auto-creates a default preset using screenpipe cloud.AI providers
by default, pipes use screenpipe cloud — no setup needed if you have a screenpipe account. to use your own AI subscription (Claude Pro, ChatGPT Plus, Gemini, or API keys), pipes reuse pi’s native auth system:option 1: subscription (free with existing plan)
option 2: API key
add to~/.pi/agent/auth.json:
ANTHROPIC_API_KEY, OPENAI_API_KEY, GEMINI_API_KEY.
using in a pipe
addprovider to your pipe.md frontmatter:
secrets
store API keys in.env files inside the pipe folder:
source .env && curl -u $TOGGL_API_KEY:api_token ...
never put secrets in pipe.md — the prompt may be visible in logs.
architecture
- agent ≠ model: the agent is the CLI tool (pi, claude-code). the model is the LLM (haiku, opus, llama).
- one pipe runs at a time (global semaphore prevents overlap)
- lookback = schedule interval (capped at 8h to prevent context overflow)
- logs saved to
~/.screenpipe/pipes/{name}/logs/as JSON
troubleshooting
pipe scheduled but doesn’t run
problem: windows task scheduler or cron shows the task running, but the pipe produces no output. solution: the pipe agent needs to know which pipe it’s executing. the context header includesPipe name: <name> so the agent can identify itself. make sure:
- the pipe folder name matches the expected pipe name (e.g.,
~/.screenpipe/pipes/my-pipe/) - the pipe is listed in
npx -y screenpipe@latest pipe list - check logs:
npx -y screenpipe@latest pipe logs my-pipe
pipe runs but produces empty output
problem: pipe executes successfully but generates no files or notifications. solution: ensure your pipe prompt includes concrete instructions to:- query screenpipe API (e.g.,
curl http://localhost:3030/search?...) - write output files (e.g., to
./output/<date>.md) - or send notifications (e.g.,
POST http://localhost:11435/notify)
npx -y screenpipe@latest pipe run my-pipe to see logs before relying on scheduled execution.
windows task scheduler permission denied
problem: windows task scheduler fails with permission errors when running pipes. solution: ensure screenpipe engine is running before the task executes. pipes require the local API athttp://localhost:3030. schedule the pipe after the app starts, or use the desktop UI instead.
security & permissions
by default, pipes have full API access — they can call any screenpipe endpoint. this is fine for pipes you write yourself, but if a pipe doesn’t need write access, you can restrict it. addpermissions to your frontmatter:
presets
custom rules
use typed patterns for fine-grained control over endpoints and data:Api(METHOD /path), App(name), Window(glob), Content(type). deny always wins.
protecting api keys & credentials
if you worry that an agent could access API keys or passwords visible on screen, use.env files (never put secrets in pipe.md itself):
.env files live on disk outside screenpipe’s recording scope — agents execute shell commands with access to source .env, but screenpipe never captures the secrets on screen. credentials are only visible in pipe logs (which you control) and memory, not in screen recordings.
to further restrict what an agent can do, use permissions: reader — pipes with read-only access cannot make API calls to external services, only query your screen data.
see the full reference: pipe permissions →
built-in pipes
screenpipe ships with 7 template pipes. browse them in the app under pipes, or see the full catalog: pipe store →
need help building pipes? join our discord — share your pipes, get feedback, and see what others are building.
download screenpipe →